Upgrade The Hard Drive in the Surface Pro 4
Learn how to upgrade the hard drive in the Surface Pro 4 and some things to be very much aware of before you start

Last Updated: October 17th, 2023
By: Steve
Contents
Can You Upgrade The Hard Drive In The Surface Pro 4?
The short answer to this is, yes you can. The longer answer is that it is not easy. Microsoft have made it very difficult to do anything inside the Surface Pro 4 because in order to do it you must remove the screen.
Why Upgrade The Hard Drive In The Surface Pro 4?
If you’ve got one of the more beefy SP4’s you may already have a 256Gigabyte or possibly 512Gigabyte. If that’s the case you won’t really need to upgrade the hard drive in the Surface Pro 4 anyway.
But if you’ve only got 128G drive, you may find that you’re running out of space.
You could consider using OneDrive to store some of your stuff. Microsoft offer a free OneDrive subscription but it only gives you, I think, 5Gigabytes of storage on the free tier. If you want to get 100Gigs of data it’ll cost you around £1.99 per month.
Whilst this isn’t a bad price, it’ll soon end up costing you the same as a new NVME disk that’ll have 4 times the storage. NVME disks are now quite cheap that are compatible with the Surface Pro 4. To be fair, it’ll probably take 2 years to cost the same as a OneDrive subscription. But you’re not looking for cloud storage or you wouldn’t be here…
The other reason to change the hard drive in the Surface Pro 4 is if the one you have in there already has failed. But read on for precautions.
Why NOT Upgrade the Hard Disk In The Surface Pro 4?
If your screen is working properly and has no cracks in it this is not an upgrade that is worth attempting unless you’re prepared to spend on a new screen as well.
If you’ve never taken the screen off a Surface Pro 4 before you will break it. Guaranteed. You might think you won’t if you’re careful enough but you will.
If you have plenty of space on your hard drive already there is little to be gained from upgrading the hard drive. Some of the newer drives available do seem to carry a bit of a speed boost compared to the original drives from what I can see, but nothing massive.
If you’ve got the screen off already and think that you might run out of space in the future then do it. But if you have to get the screen off it’s not worth the risk. You have been warned 🙂
Before You Start
Back Up Your Existing Data
If there’s any data that you wish to retain you will likely need to take a backup. You could store any documents, pictures etc that you want to retain in the cloud and to be honest, the best solution for this seems to be Microsoft OneDrive. If you don’t like Microsoft, there’s always Google Drive – though these days I find Google more offensive than Microsoft. Never thought I’d say that… But still.
Or you can grab yourself a nice USB3 external hard drive to copy everything across to. The Surface Pro 4 has USB 3 connector on the side, and a USB3 external hard drive should copy data across nice and quickly. I use the Western Digital Passport myself.
Get A Copy Of Windows 10
Your Surface Pro 4 is licensed to use Windows 10 Pro. It should be a digital licence associated with your Microsoft account if you login to Microsoft. If not, it should still re-activate itself based on the hardware signature in the SP4 when you re-install Windows.
Since the new hard drive you’re going to install won’t come with Windows installed, you need to download a copy of Windows 10 and make a USB installation disk.
Microsoft provide perfect instructions and links for how to do this so I’m not going to go over it again. To download and install Windows 10 to USB, click here.
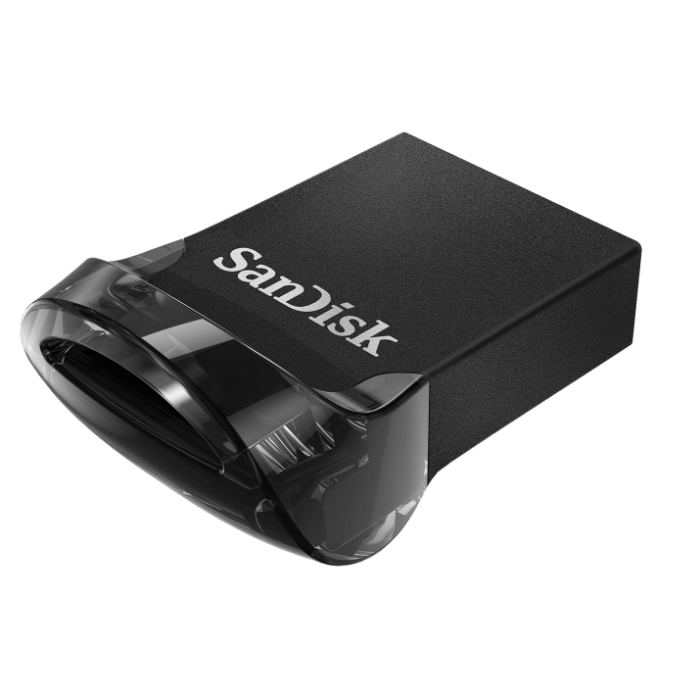
You will of course need a decent USB3 flash drive. I recommend the SanDisk UltraFit range as they’ve worked really well for me in the past.
Doing this before you take the screen off will make life easier for you when you come to reinstall, unless you have another Windows PC around you can use.
Getting The Screen Off A Surface Pro 4
As mentioned above, getting the screen off a Surface Pro 4 is very very difficult and fraught with danger. Danger to your Surface Pro 4 and danger to yourself.
If the screen has been replaced by someone already it may well come off a lot easier than if it’s never been off.
If the screen is flickering after the device warms up, you’ll need to replace it with the Surface Pro 5 screen as detailed in our article here. That article also gives some advice on how to get the screen off. But to be fair there are that many YouTube videos about how to get a screen off a Surface Pro (of any model number) that your best bet is to simply watch one. I’ll embed one below for you;
For more tips about getting the screen off, see our article entitled Screen Flickering On Surface Pro 4 FIXED.
However, if you’re not going to read that article – and that’s perfectly fine – do take note of the following warning;
WEAR EYE PROTECTION.
THE SCREEN WILL SHATTER. YOU RISK GLASS SHARDS IN YOUR EYES IF YOU HAVE NO EYE PROTECTION ON. GLASS SHARDS WILL HURT AND MAY BLIND YOU.
WEAR EYE PROTECTION.
That’s probably strong enough advice?
Changing The Hard Drive In A Surface Pro 4
So, you’ve got the screen off and haven’t blinded yourself if you’re still reading this. I bet you have cuts in your fingers though if you didn’t wear gloves… Anyway – joking aside, now is the easy bit. Changing the hard drive is an absolute doddle once the screen is off.
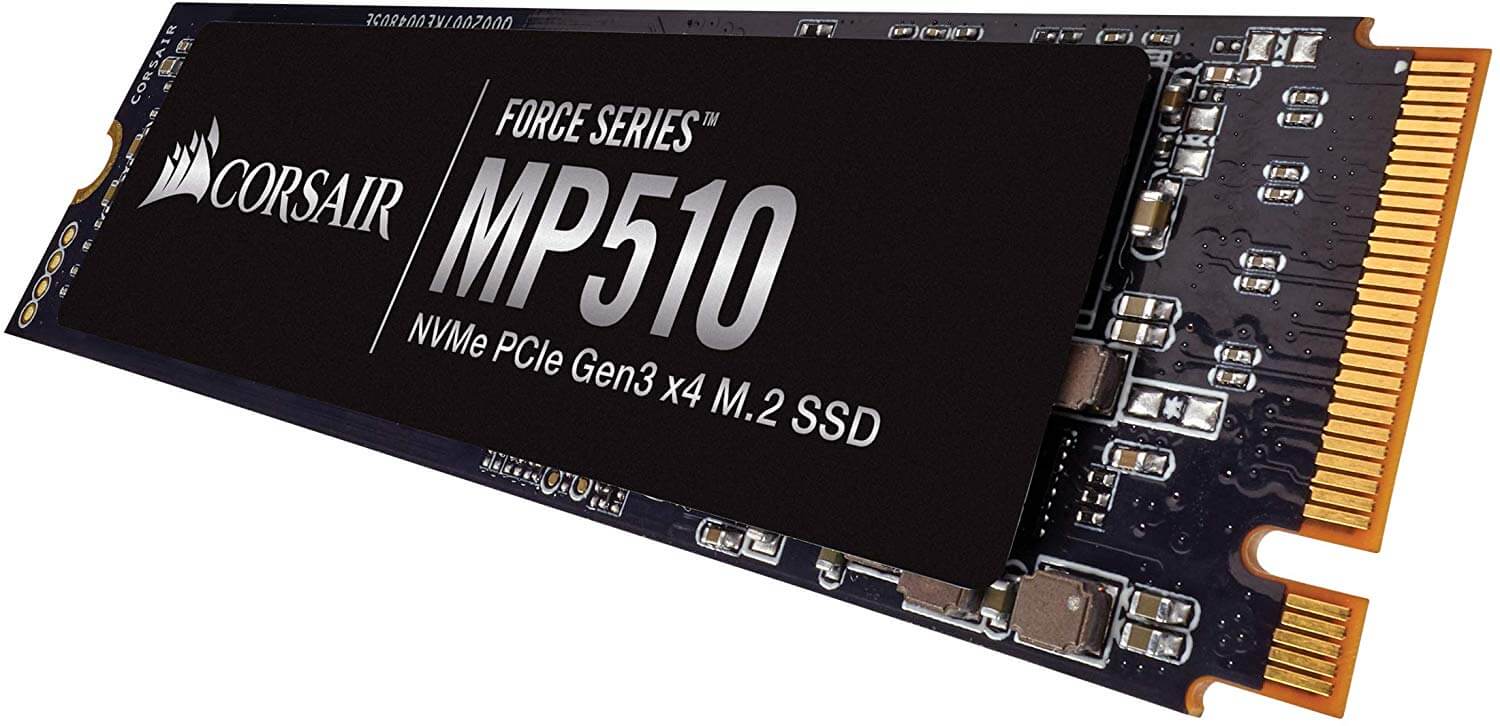
It’s harder finding a compatible drive than it is to actually change it. You need to use an M2 slot, M-Keyed NVME drive such as the one pictured below. You’ll note when looking at it that the slot is on the right hand side (or bottom) of the connector. If the slot is on the left hand side (or top) of the connector it will not work. If there are 2 slots on the connector, it will not work (those would be M2 SATA drives, which should work in the Surface Pro 3 though).
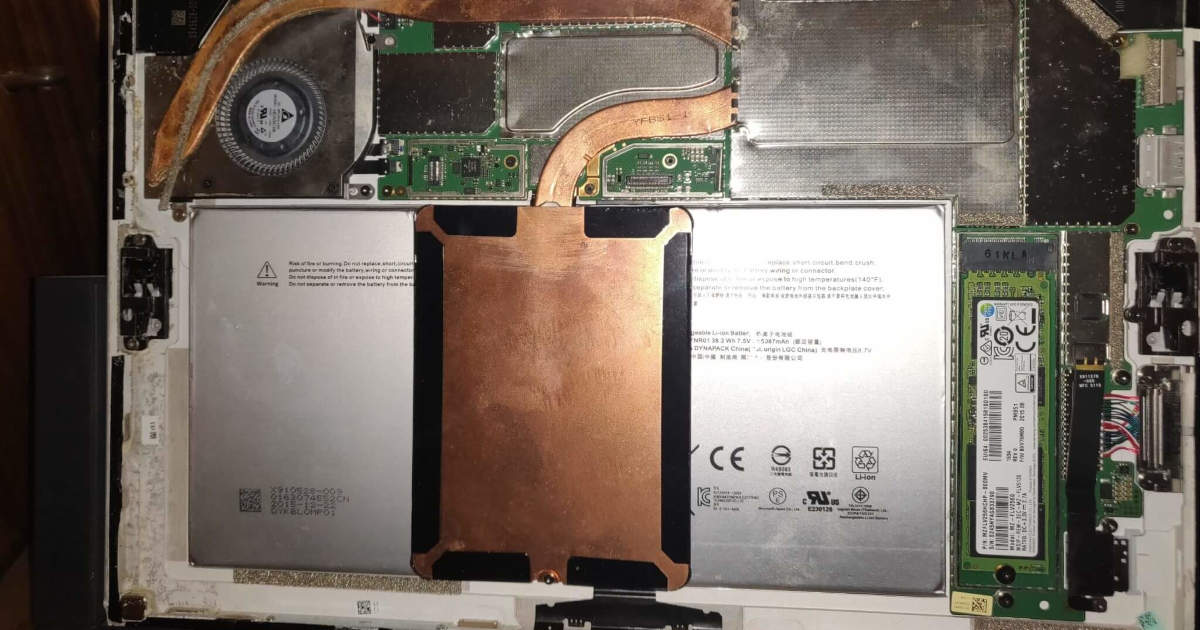
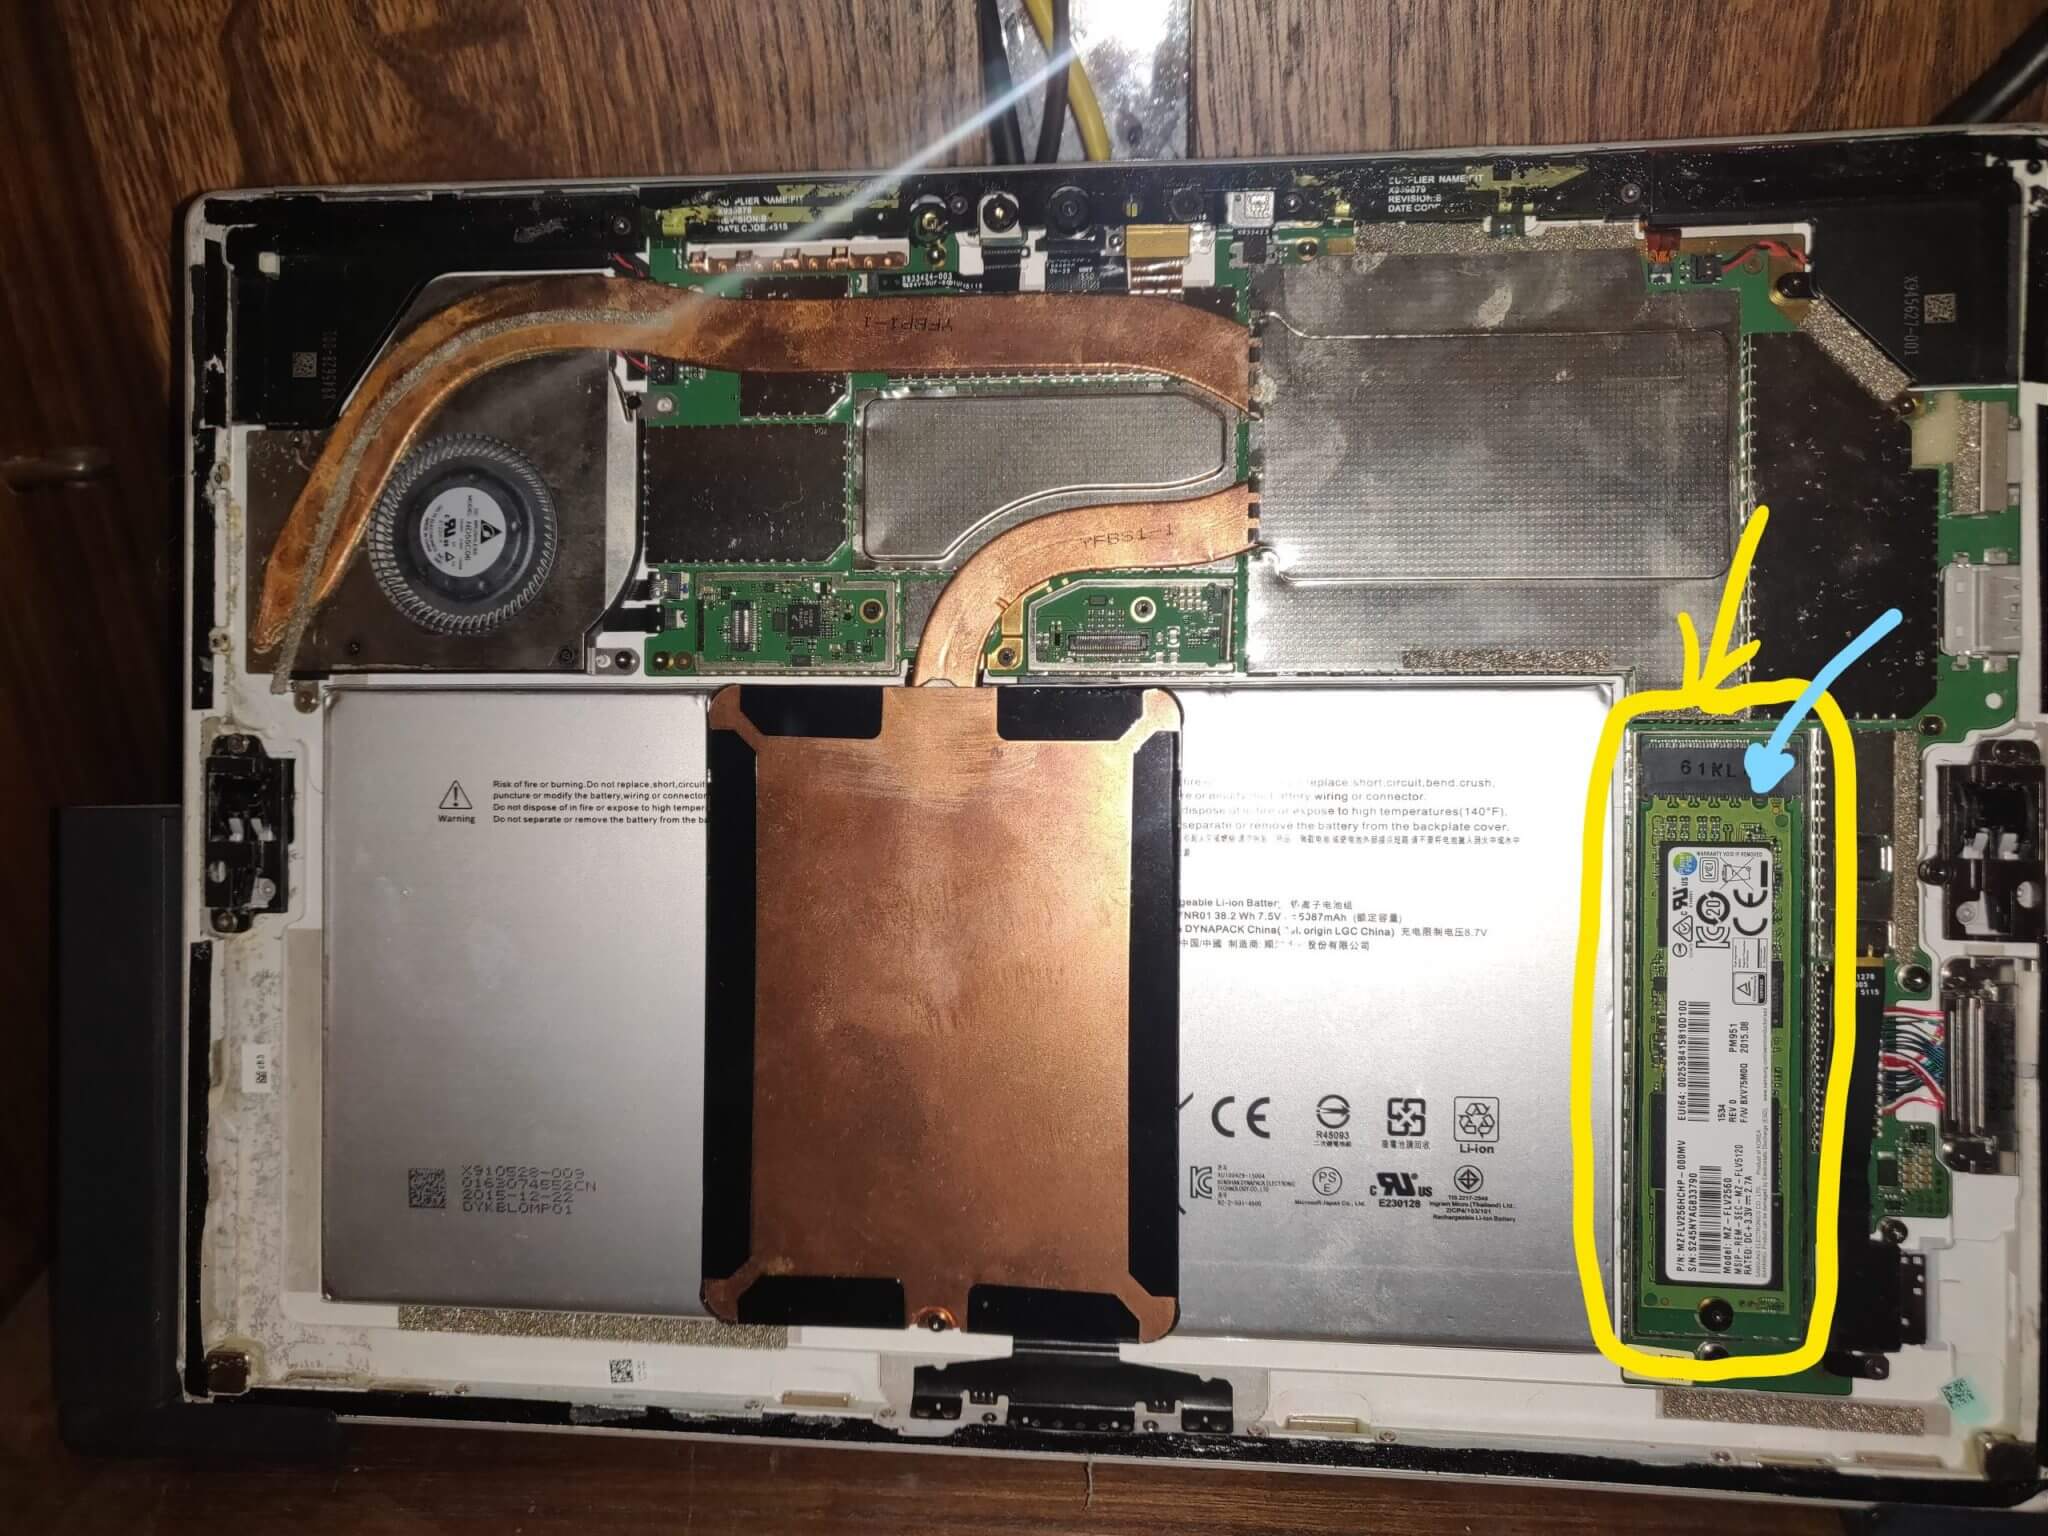
Looking at the Surface Pro 4 from the front, with the screen off you’ll find the hard drive is positioned in the bottom right hand side of the device in a small slot. It will likely have a silver cover over it which you’ll need to prize off first, so use the image below as a guide for where to find it.
I use small tweezers to pry the cover off. You can use whatever you like but do be careful not to damage any of the circuit board when trying. If you have reasonable finger nails you can probably use them to pry the cover off. Don’t panic if you bend it. You can straighten it out again with your fingers. In my case I never bothered to put it back on – but I’m using this Surface Pro 4 as a media server and I’ve never put a screen back on. There’s a topic for another day!

M.2 Notch location highlighted in light blue.
You can see from the image above that the hard drive is installed in a small slot. This slot is called an M2 (or New Generation Form Factor – NGFF) slot. It’s designed to house all sorts of different ‘peripherals’ depending on where the cutout is located. I’ve highlighted the cutout on the photo in blue. If you’re looking for a new hard drive it’s essential that the drive you buy has the cutout in the same position.
Remove The Original Hard Drive
If you have any data you want to keep you need to make sure you’ve backed it up. You did do that as advised before you took the screen off didn’t you? If you didn’t you have 4 options going forward;
- Ignore it – there was nothing on there that you want to keep anyway.
- Put the screen back on, assuming it’s not too damaged, and back up
- Connect to an external display using, for example a miniDisplayPort adapter to HDMI and connecting to a screen. Once booted you can back up the data you want to keep.
- Buy a USB3 NVME enclosure and use the current disk as a portable USB3 drive once the new drive is installed and everything setup. These are super fast and make great devices for moving data around between computers.
To remove the original hard drive, you’ll need a Torx T5 screwdriver to undo the small screw at the bottom end of the drive. Don’t lose that screw, you’ll need to put it back when the new drive is in place otherwise the new drive won’t sit properly.
Once the screw is out, lift the bottom end of the drive gently and pull the drive downwards, away from the M.2 slot. It should come out with very little force.
Insert The New Drive
The instructions for doing this are very complicated. Are you sitting comfortably…
To insert the new drive, just do the opposite of what you’ve done for removing the old drive.
Told you it was difficult 😉
While You’re In There
It could be worth changing the thermal paste on the CPU and graphics chips while you’ve got the screen off. Manufacturers are notoriously bad at providing good thermal paste – though Microsoft don’t seem as poor at this as Apple. Nevertheless, while you’ve got the screen off you might as well. I’ll write a separate article about how to do this specifically for the Surface Pro 4 shortly.
Final Thoughts
Once the drive is changed, insert your Windows 10 Boot USB drive and reboot. Windows setup should run automatically and you can install Windows onto your new, bigger hard drive.
If you’ve decided that you need to upgrade the hard drive in the surface pro 4 that you have, then hopefully you’ve found this post useful. As you can see, the hard part is getting the screen off. That’s the part of the process that will take the longest and is the most dangerous. Provided you’ve backed up your data and downloaded a fresh installation of Windows 10, the actual hard drive upgrade is relatively straight forward.
The Surface Pro 4 is still my daily driver computer – being both portable and powerful enough for my daily needs. You won’t play much in the way of games on it, but for surfing the web and document writing it’s great. I even discovered you can sign PDF documents using the pen and Microsoft Edge. How good is that? I love my Surface Pro 4. They’re great value for money these days, even if you do have to replace the screen because it starts flickering.
If you have any thoughts, suggestions or comments please feel free to leave them below. I read all comments and try to answer most!
Thanks for reading and good luck with upgrading the hard drive in your Surface Pro 4 device.


